More work on this house this week. Even though our current house was a lot more work, the old one feels more overwhelming. We still have stuff in there that we have to do something with. It’s hard to determine what to sell, what to keep and what to donate. Cleaning the house also scares me a bit. I almost want someone to come in and do it for me. Almost.
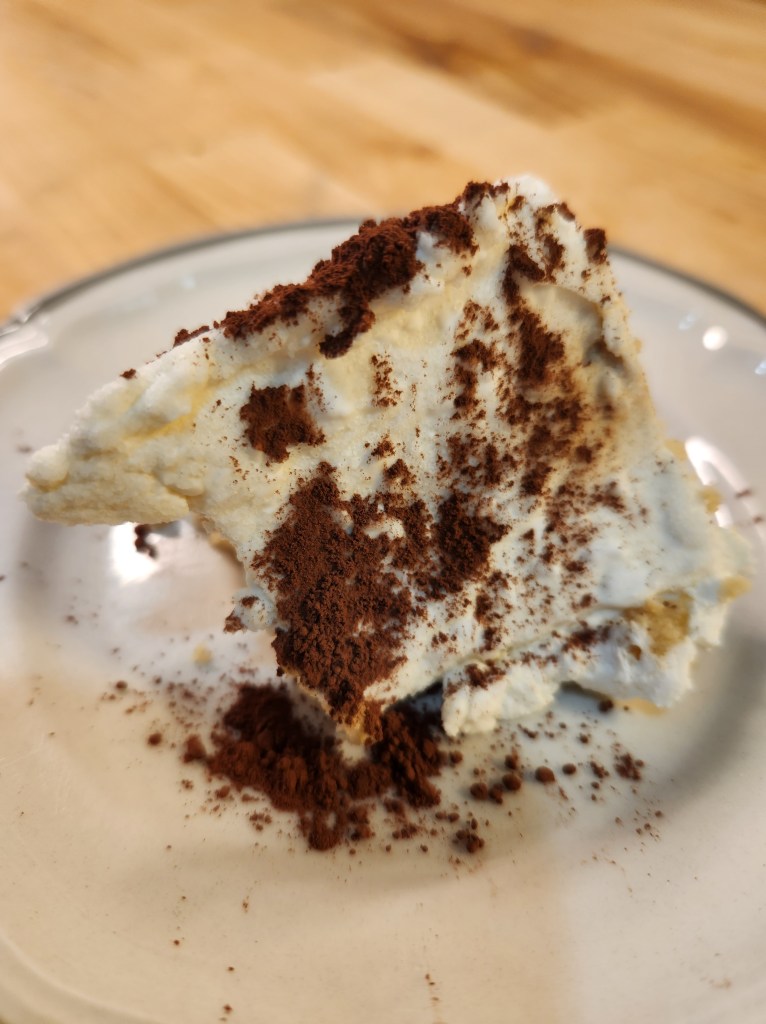
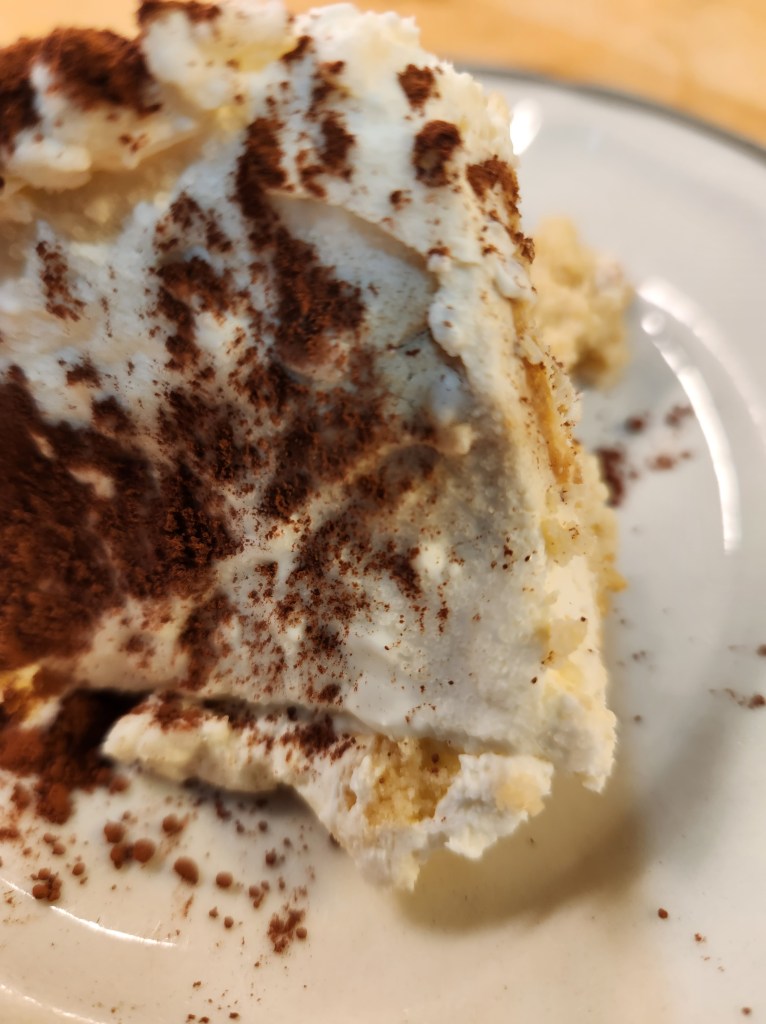
This week’s recipe is for Tiramisu Cake from The Anthony Kitchen. Tiramisu is one of my favorite desserts. I love it so much that I had my wedding cake the first time around made as a tiramisu cake. I wanted to do it again, but make it low carb. Last week’s recipe was a hit, and I hope to make this one a hit too. I will be using decaffeinated coffee for this recipe because Tony can’t have caffeine. I will also be swapping a vanilla wafer for the ladyfingers, just because I’m not in the mood to make two recipes to make one cake.
Here are the original stats:

Here’s what I changed:
- I deleted the added salt to reduce the sodium.
- I replaced the sour cream with a dairy free alternative to remove the dairy.
- I replaced the buttermilk with coconut milk and lemon juice to remove the dairy.
- I replaced the Kahlua with a non alcoholic alternative to reduce the carbs.
- I replaced the mascarpone with dairy free cream cheese to remove the dairy.
- I replaced the whipping cream with a dairy free alternative to remove the dairy.
- I replaced the powdered sugar with the sweetener replacement to reduce the carbs.
- I replaced the lady fingers with a sugar free, gluten free vanilla wafer to lower the carbs and remove the gluten.
- I replaced the cake flour with almond and coconut flour to reduce the carbs.
- I replaced the sugar with its sweetener alternative to reduce the carbs.
- I replaced the butter with unsweetened applesauce to reduce the calories and saturated fat.
- I increased the servings from 16 to 24 to reduce the calories
Here are the final stats:

Here is the final recipe:
Low Carb Tiramisu Cake
Serves 24
For the Cake:
- 2 cups almond flour
- 1/2 cup coconut flour
- ½ teaspoons baking powder
- ¼ teaspoon baking soda
- ¾ cup unsweetened applesauce
- 1 ½ cup granulated sweetener
- 2 tablespoons canola or vegetable oil
- 3 large eggs, room temperature
- 3 tablespoons dairy free sour cream
- 1 tablespoon pure vanilla extract
- ½ cup unsweetened coconut milk
- 1 tablespoon lemon juice
- ¼ cup Lyre’s Coffee Original
- 1/2 teaspoon xanthan gum
For the Layers:
- 2 (8 ounce) packages cold dairy free cream cheese
- 1 cup dairy free heavy whipping cream + 2 tablespoons
- ¾ cup powdered sweetener
- ½ teaspoon pure vanilla extract
- 24 sugar free, gluten free vanilla wafers
- 2 cups strongly brewed decaf coffee (or espresso), cooled to room temperature
- 2-3 tablespoons unsweetened Dutch cocoa powder
- Preheat the oven to 350°F and have ready a greased 9×13″ baking dish, preferably metal or glass.
- Sift the flours, baking powder, and baking soda over a medium-sized mixing bowl. Set aside until ready to use.
- Add the applesauce and sweetener to a large bowl and using a handheld mixer, mix until sweetener is dissolved. You could also use a stand mixer fitted with a paddle attachment for this task.
- Add the oil and mix until well-blended. Add the eggs, one at a time, mixing well after each addition. Add the sour cream and the vanilla and mix again. Scrape down the sides and the bottom of the bowl using a silicone spatula and mix once more.
- With the mixer on low, add the dry ingredients in 3 rounds, alternating with the coconut milk and lemon juice and Lyre’s. Scrape the sides and the bottom of the bowl, and mix once more.
- Bake for 28-32 minutes (checking at the 28-minute mark). Set the cake aside to cool completely on a wire rack before icing.
To Make the Mascarpone Icing:
- For the frosting, you will need a large mixing bowl and a handheld mixer or a stand mixer fitted with a paddle attachment. Add the cream cheese and the cream to the bowl and mix on medium-high until very smooth and creamy.
- Add the powdered sweetener and vanilla and begin mixing on low. Once the sweetener is mostly incorporated, you can begin mixing on medium-high. Mix for 2 minutes more, until light and fluffy.
- Add about ⅓ of the icing to the top of the cooled cake and spread it to the edges. Submerge each wafer in the coffee/espresso and then layer them evenly across the cake. Dollop the remaining icing across the top of the ladyfingers and spread evenly across the top.
- Finish off the cake by sifting a generous layer of cocoa powder all across the top and transfer to the refrigerator to chill, at least 1 hour. Serve and enjoy!
