
I should be home for the next couple of months. I’m glad to be done with travelling for a while. It takes a lot out of me. This last conference was memorable for all the wrong reasons. The sessions were good, but there were some things that were not good from the perspective of the attendee. First, this was the only conference I have ever been to that did not have coffee first thing in the morning. It was available after 10am. I would never make a conference attendee buy their own coffee. Second, there were two hour plenary sessions at 8am. The last thing I want to do is sit for two hours first thing in the morning. They were mostly sales pitches, which really turned most people off. Finally, they ran each day from 8am to 6pm. That’s WAY too long of a day for most people. I skipped the 5pm to 6pm session every day. I know most people did too. That’s bad for the attendee, and bad for the poor speaker who was assigned that time slot.
Now that I got that off my chest, I am doing a recipe this week that I’ve been interested in doing for a while. I have made a Japanese cotton cheesecake before, but never the soufflé cake. I am starting with a recipe from Ms. She and Mr. He for Chocolate Sponge Cake. I like this recipe because it can be made in a 9×13 pan. 8×8 pans make the pieces too small. I don’t like the water bath, but I can live with it. I’ll have to use a large roasting pan to do that. All in all, I think this will turn out great.
Here are the original stats:

Here’s what I changed:
- I am using large eggs instead of extra large eggs because that’s what I have.
- I swapped out the milk for coconut milk to remove the dairy.
- I swapped the sugar for the sweetener equivalent to reduce the carbs.
- I swapped the cake flour with almond and coconut flours to reduce the carbs.
- I increased the servings from 8 to 12 to lower the calories.
Here are the final stats:

Here is the final recipe:
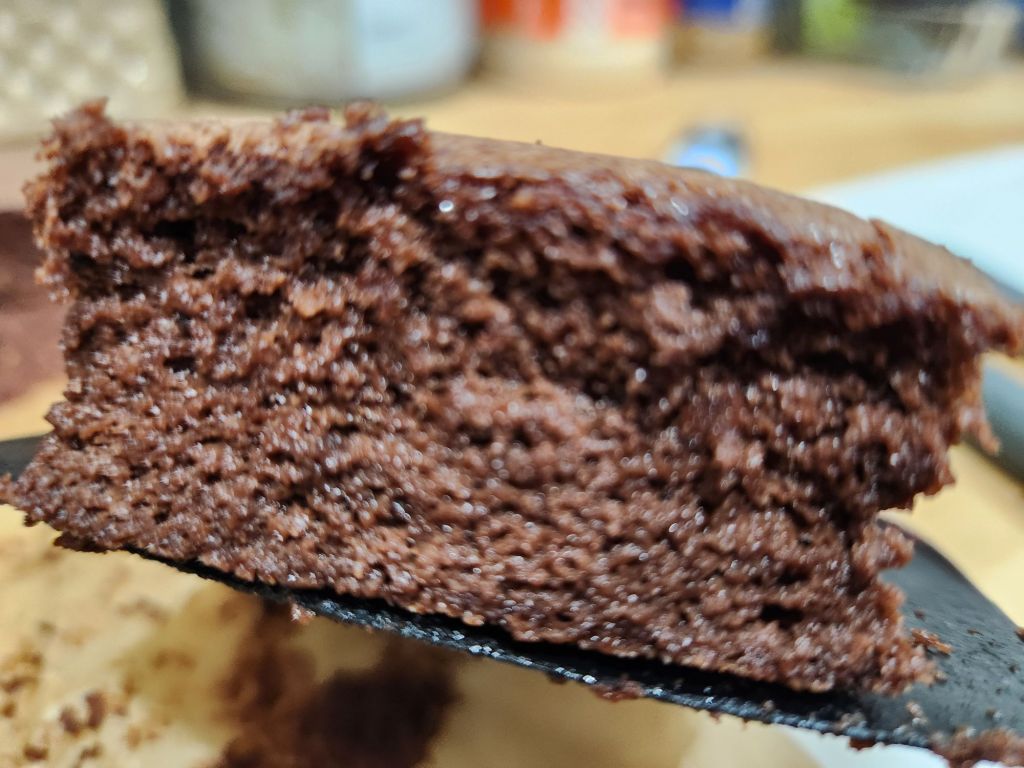
Low Carb Chocolate Sponge Cake
Serves 12
- 9 large eggs
- 100 g vegetable oil
- 67.5 g almond flour
- 22.5 g coconut flour
- 40 g cocoa powder
- 120 g unsweetened coconut milk
- 1 tsp vanilla extract
- 15 g lemon juice
- 120 g granulated sweetener
- Line a 9×13 baking pan with parchment paper Preheat the oven to 300F.
- Separate 9 extra large eggs into yolks and whites. Place the egg yolks in a small bowl, set aside on countertop. Place the egg whites in a large mixing bowl, keep in the freezer.
- Add flours to a large mixing bowl. Use a small saucepan to heat up 100g vegetable oil over medium heat until it reaches 165F. Carefully pour the hot oil into the mixing bowl. Stir the mixture using a whisk until the flours are thoroughly incorporated with the oil.
- Add 40g cocoa powder to the flour oil mixture, mix with a whisk until smooth. Then add 120g coconut milk, 9 egg yolks, and 1 tsp of vanilla extract to the mixture, stir with a whisk until smooth. Set aside.
- Take the egg white mixing bowl out from the freezer. You might observe that the edges of the egg whites have started to freeze. Add 1 tbsp of lemon juice and 40g sweetener into the egg whites. Use medium speed of a hand mixer to whip the egg whites for 3 minutes until fish eye size bubbles form.
- Add another 40g sweetener into the egg whites, use medium speed to whip the egg whites for 3 more minutes until the bubbles are too tiny to be seen.
- Add the remaining 40g sweetener into the egg whites, use medium speed to whip the egg whites until medium peak forms. It will take approximately 15 minutes of total whipping time.
- Scoop ⅓ of the egg whites into the egg yolk mixture, fold until well combined.
- Transfer the egg yolk mixture to the egg white bowl, gently fold until the color looks even.
- Pour the batter into the cake pan, gently spread the batter with a spatula to create a smooth surface.
- Drop the cake pan on the kitchen counter a couple of times to eliminate large bubbles from the batter.
- Place the filled cake pan inside a larger cake pan or baking dish. Carefully pour cold water into the larger pan, taking care not to splash water into the cake batter. Add enough water to reach about halfway up the sides of the cake pan.
- Gently transfer the pans to the preheated oven. Bake at 300F for 75 minutes.
- Remove the cake pan from the oven, lift the cake pan out of the water bath, hold the edge of the parchment paper to lift the cake out of the cake pan. Place the cake on a wire rack, use a serrated knife to cut the cake into 12 pieces.
- Serve the chocolate sponge cake hot immediately. Or allow the cake to cool completely, place it in an airtight container, and keep it in the fridge (for 3 to 4 days) or in the freezer.
